A digital image can contain millions of pixels, and every pixel needs data to describe its colour and brightness. Stored without compression, even an ordinary photograph can occupy a surprisingly large amount of space. Image compression reduces that data so images take less storage, load faster, and use less network bandwidth.
Compression is not simply “making an image lower quality.” Some methods reproduce every original pixel exactly, while others discard details that people are less likely to notice. Understanding the difference helps you choose the right format, quality setting, and image dimensions for a website, document, or archive.
The short answer
Image compression works by finding information that can be represented more efficiently. Lossless compression removes statistical redundancy without changing the decoded pixels. Lossy compression also simplifies or discards selected visual information to achieve a much smaller file.
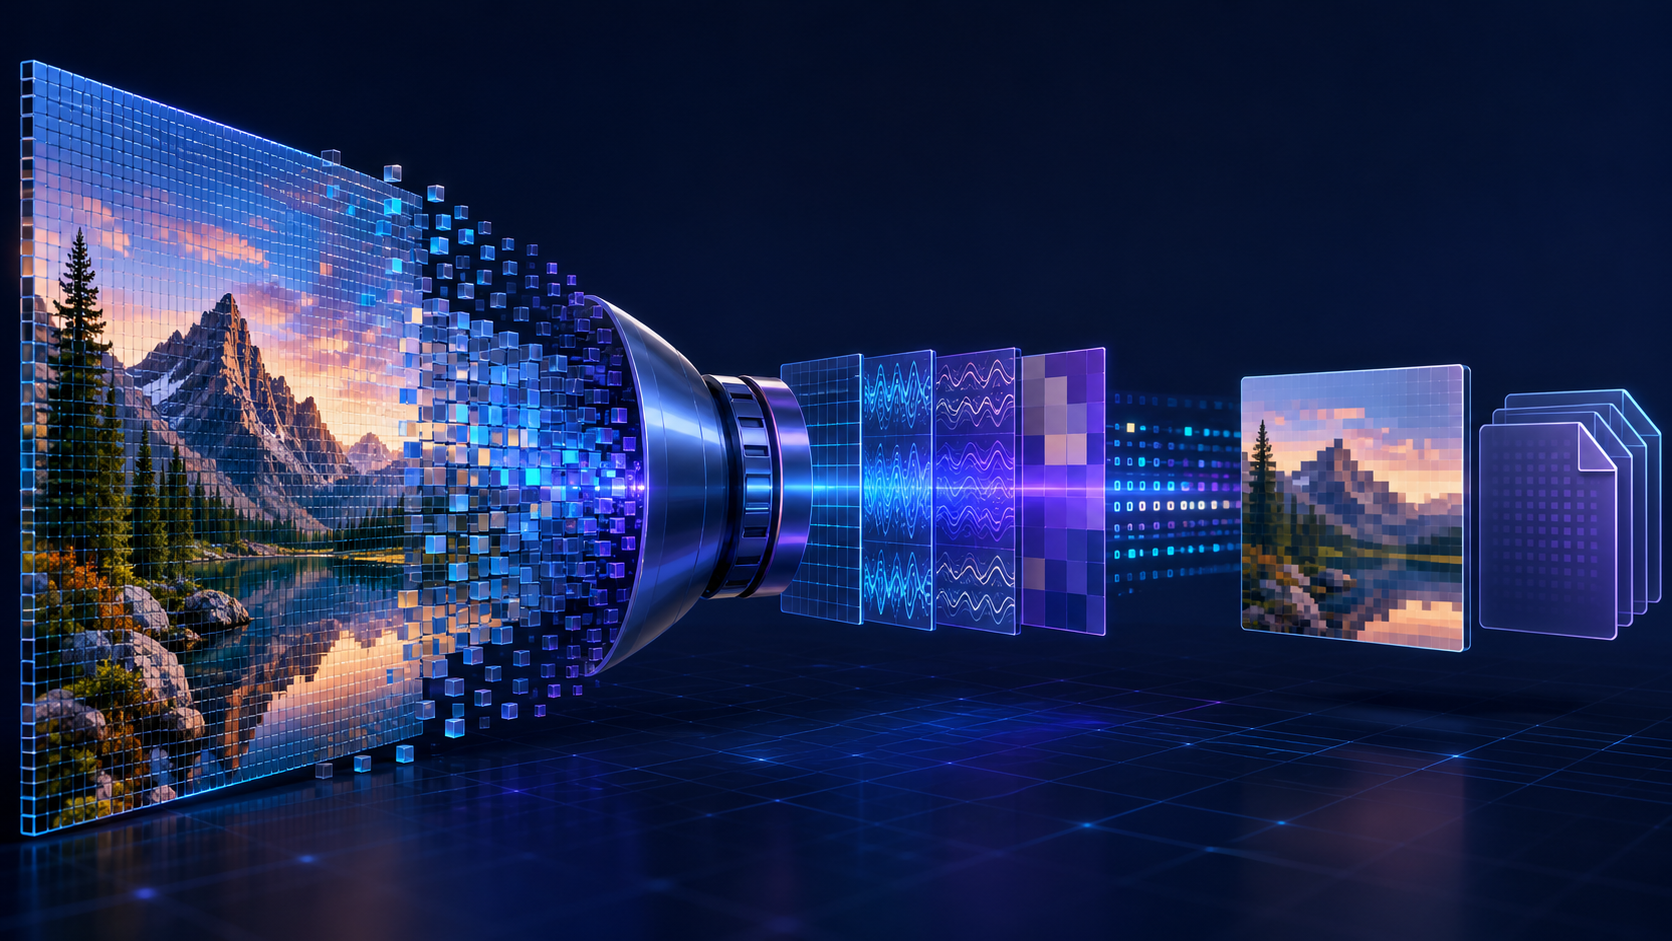
Most compression pipelines combine several techniques. They may predict a pixel from nearby pixels, transform blocks of image data into frequency patterns, reduce numerical precision, and replace repeated values with shorter codes. The file format stores the compressed data plus the instructions needed to decode it.
Why uncompressed images are large
Consider a 4000 × 3000 photograph. It contains 12 million pixels. If each pixel uses three 8-bit channels for red, green, and blue, the raw pixel data needs about 36 million bytes before file headers or other metadata are included. That is roughly 36 MB using decimal units.
Real images contain patterns, however. Neighbouring sky pixels often have similar colours. A wall may contain a long region of nearly identical values. Fine changes in some colour information are less visible to the human eye than equivalent changes in brightness. Compression takes advantage of these properties instead of storing every value independently.
Lossless compression: smaller files with identical pixels
Lossless compression allows the decoder to reconstruct the exact original pixel values. Nothing is permanently discarded. This makes it suitable for screenshots, interface graphics, diagrams, text, technical images, and files that will be edited repeatedly.
Lossless encoders commonly make the data easier to compress before assigning efficient codes to it. For example, instead of recording every pixel as a complete colour, an encoder can predict the next pixel from its neighbours and store only the difference between the prediction and the real value. In a smooth region, those differences tend to be small and repetitive.
The remaining values are then processed with methods such as:
Run-length encoding: repeated values are represented as one value plus a count.
Dictionary coding: recurring sequences are replaced with shorter references.
Entropy coding: common symbols receive shorter bit patterns while rare symbols receive longer ones.
Prediction and filtering: predictable relationships between neighbouring pixels are converted into simpler residual values.
PNG is a familiar lossless format. It is highly effective for flat colours, sharp edges, transparency, and repeated patterns. It may be much less efficient for photographs because natural scenes contain complex texture and noise that are difficult to describe without preserving a great deal of data.
Lossy compression: removing less noticeable information
Lossy compression achieves smaller files by allowing the decoded image to differ from the original. A good encoder tries to spend data on details that strongly affect perceived quality and spend less on details people are unlikely to notice.
This does not mean the encoder understands the subject as a person would. It uses mathematical models and perceptual assumptions. At a moderate quality setting, the changes may be difficult to see. At aggressive settings, the missing information becomes visible as blur, ringing around edges, colour smearing, banding, or block-shaped artifacts.
JPEG is the classic example of lossy image compression. Modern formats such as WebP and AVIF provide both lossy and lossless modes and use more advanced prediction and coding techniques.
How JPEG compression works
JPEG illustrates the main stages of a traditional lossy codec. Exact implementations vary, but a typical encoding process follows these steps.
1. Convert the colour representation
The image is usually converted from red, green, and blue channels into a representation with one brightness component and two colour components. This separates luminance from chrominance because human vision is generally more sensitive to fine brightness detail than to equally fine colour detail.
2. Reduce colour resolution
The encoder may use chroma subsampling to store colour information at a lower spatial resolution than brightness. A common 4:2:0 arrangement shares colour samples across groups of pixels while keeping brightness samples at full resolution. Photographs can tolerate this well, but tiny coloured text and sharp interface elements may become soft or develop coloured edges.
3. Divide the image into blocks
JPEG processes the components in small blocks. Each block is transformed from individual pixel values into a set of spatial frequency coefficients. Low-frequency coefficients describe broad, gradual changes; high-frequency coefficients describe fine texture and sharp transitions.
4. Quantize the coefficients
Quantization is the main lossy step. The encoder divides coefficients by selected values and rounds the results. Fine details are usually quantized more aggressively than broad shapes. A higher quality setting preserves more coefficient precision, while a lower setting turns more small coefficients into zero and makes the file easier to compress.
5. Encode the remaining values efficiently
After quantization, many coefficients are zero or follow predictable patterns. The encoder reorders and compresses them using run-length and entropy coding. The JPEG file stores these coded values, quantization tables, dimensions, colour information, and other metadata needed for decoding.
What the quality slider actually changes
An image quality slider is not a universal percentage. A value of 80 does not mean that 80 percent of the original data or quality remains. Applications and codecs map slider values to internal settings differently.
For a lossy format, the setting usually changes quantization strength and may also affect chroma subsampling, prediction, or encoder effort. File size is influenced by the image content as well. A clean illustration may compress very differently from a photograph containing foliage, hair, film grain, or low-light noise even when both use the same dimensions and quality setting.
The most reliable method is to compare the encoded result with the original at its real display size. Inspect faces, text, gradients, fine edges, and textured areas rather than relying only on the numerical setting.
Compression is different from resizing
Compression changes how pixel data is represented. Resizing changes the number of pixels. Both can reduce file size, but they solve different problems.
A 6000-pixel-wide photograph does not need to remain 6000 pixels wide if it will appear in a 1200-pixel website container. Reducing its dimensions removes data the page cannot display and often produces a larger saving than lowering the quality setting. For responsive websites, several appropriately sized versions can prevent small screens from downloading unnecessarily large images.
For best results, resize from the highest-quality source and then compress the delivery copy. Repeatedly opening and saving a lossy file can accumulate damage because every new encoding may discard more information.
Why some images compress better than others
Compression effectiveness depends on how predictable the image is:
Flat colours and repeated shapes often compress well with lossless formats.
Natural photographs usually compress well with perceptual lossy formats.
Noise, grain, and dense texture are expensive because neighbouring pixels are less predictable.
Sharp text and line art expose lossy artifacts quickly.
Smooth gradients may show banding when too much precision is removed.
Transparency requires a format and mode that can encode an alpha channel.
This is why there is no single best compression setting for an entire image library. A product photo, screenshot, logo, and scanned document each benefit from a different treatment.
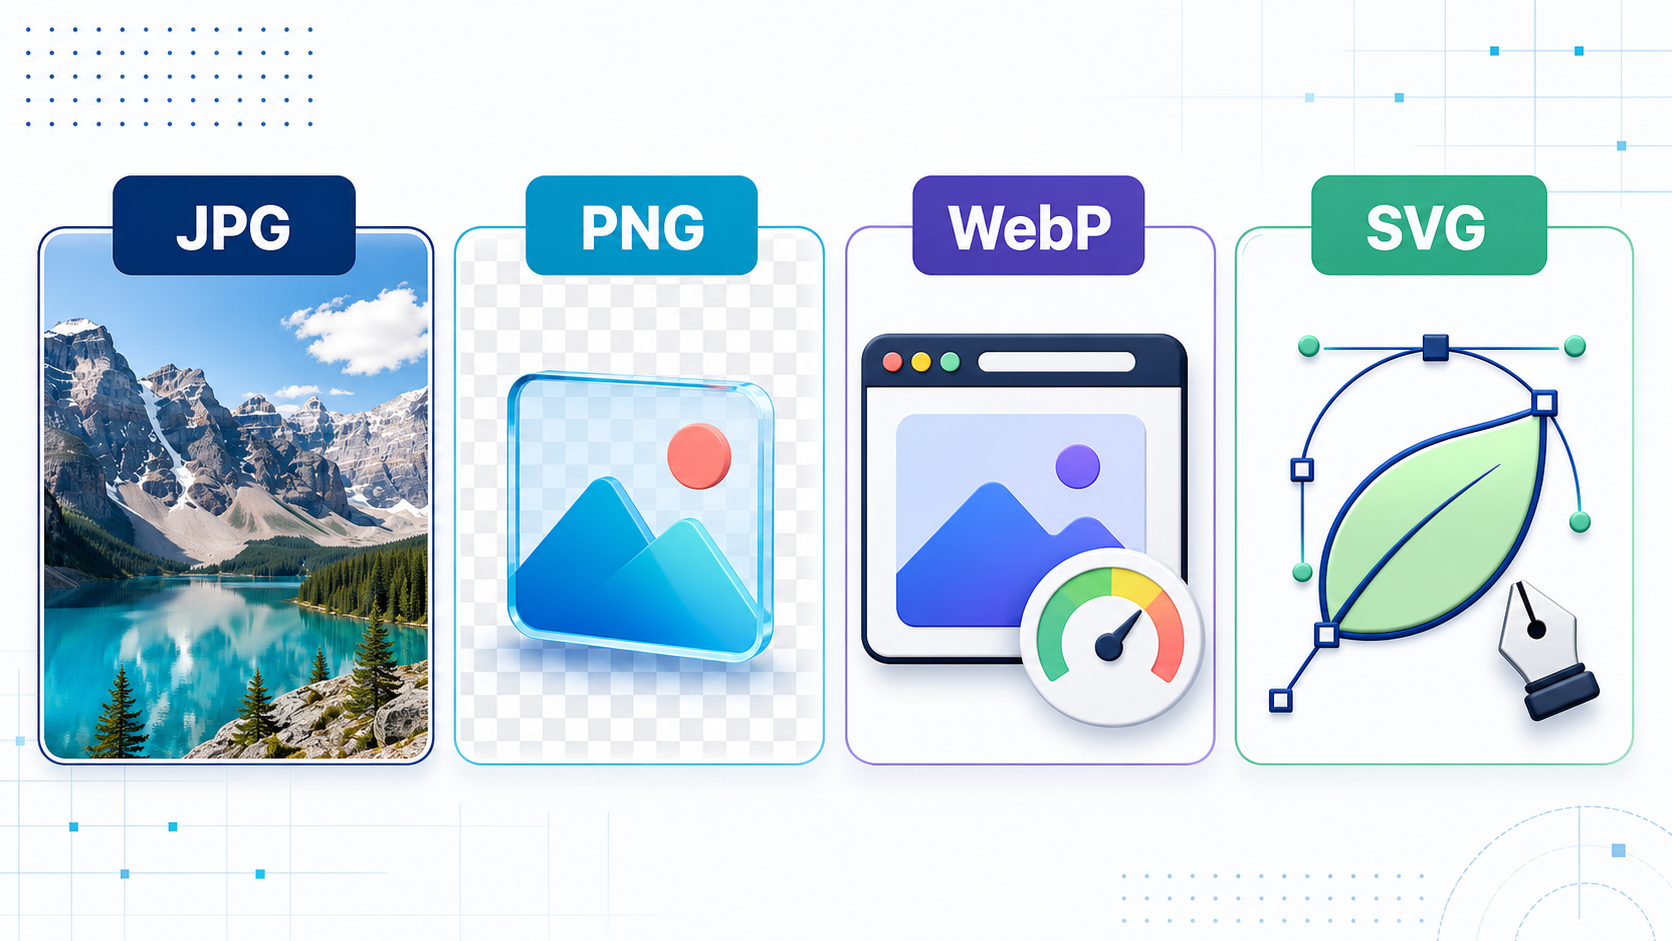
JPG, PNG, and WebP: which should you choose?
Choose JPG for photographs when broad compatibility and a simple lossy workflow matter. Avoid it for transparency and graphics dominated by crisp text or flat colour.
Choose PNG when exact pixels, dependable transparency, screenshots, diagrams, or sharp interface graphics matter more than the smallest possible file.
Choose WebP for modern web delivery when you want efficient lossy or lossless compression and transparency in one format.
AVIF can produce excellent results at small sizes, particularly for photographs, but encoding support, workflow compatibility, and performance should be tested for the intended audience. Keep an editable original regardless of the delivery format you choose.
Metadata and file size
Image files can contain more than pixels. Camera settings, capture dates, colour profiles, thumbnails, editing history, location data, and descriptive fields may all be embedded as metadata. Removing unnecessary metadata can reduce size and protect privacy, although the saving is often smaller than resizing or changing the image encoding.
Do not remove information blindly from archival or professional files. Colour profiles can be important for consistent appearance, and rights or attribution metadata may be required by a workflow.
How to compress an image without ruining it
Start with the best available original rather than an already compressed copy.
Resize the image to the largest dimensions actually needed.
Select a format that matches the content and transparency requirements.
Begin with a moderately high quality setting and reduce it gradually.
Compare the output at 100 percent and at its intended display size.
Check text, faces, gradients, edges, and high-detail regions carefully.
Keep the original separately so a new delivery version can be created later.
Compress images privately with OpenToolkit
The OpenToolkit Image Converter can resize, compress, and convert JPG, PNG, and WebP images directly in your browser. Processing locally avoids uploading private images to a remote conversion service. Try a few quality settings, compare the results, and download the smallest version that still looks correct for its intended use.
The bottom line
Image compression reduces file size by removing redundancy, reducing precision, or both. Lossless methods preserve every decoded pixel, while lossy methods trade selected detail for much smaller files. Resizing, format choice, image content, quality settings, and metadata all affect the final result.
The goal is not to create the smallest file at any cost. It is to remove data that does not improve the image in its real context. Start with a high-quality source, match the format to the content, and judge the final image with your eyes as well as its file size.